By using our website, you accept our use of cookies in accordance with our Cookies Policy.

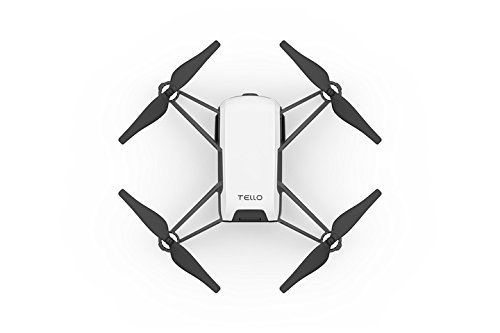
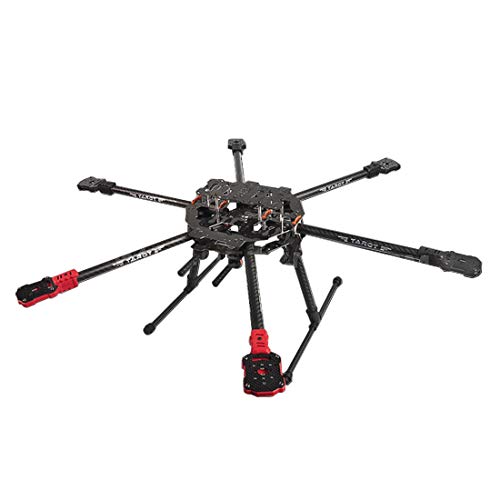
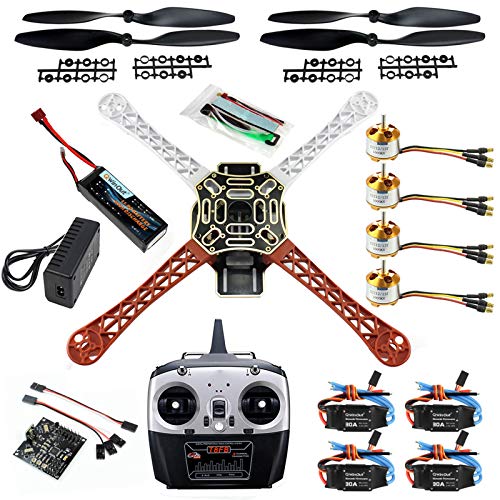
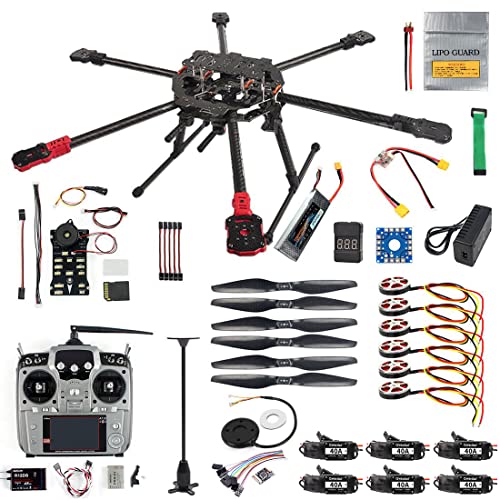
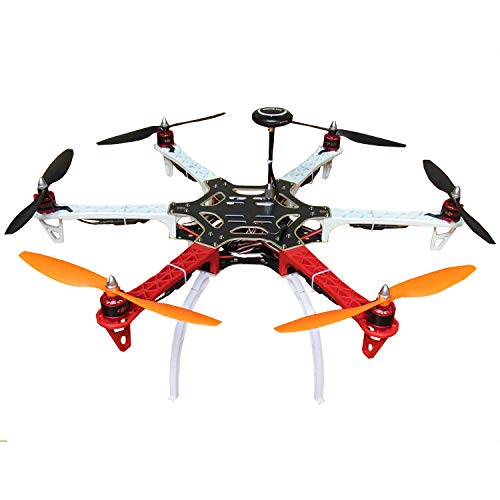
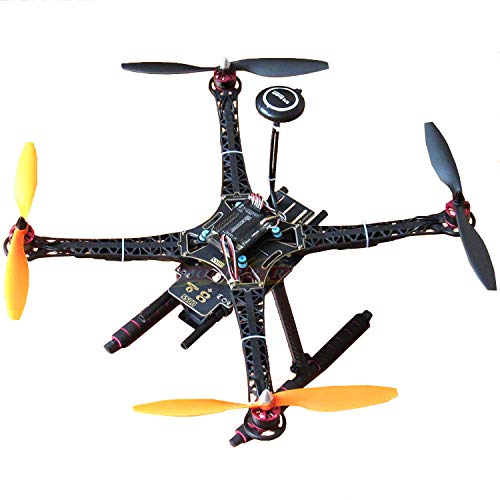
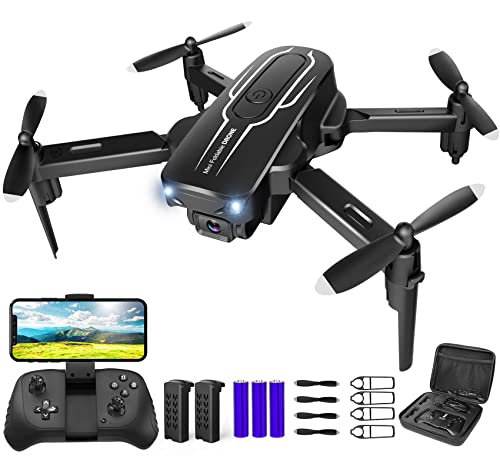
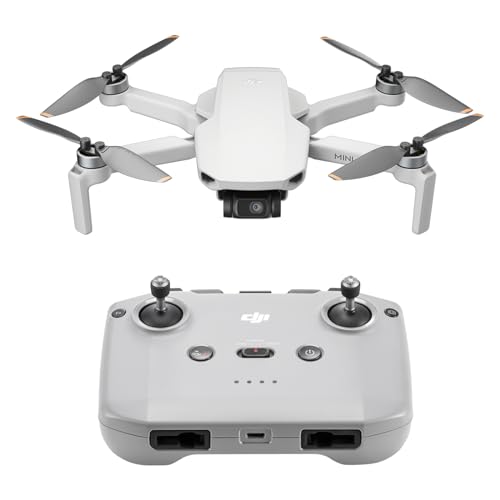
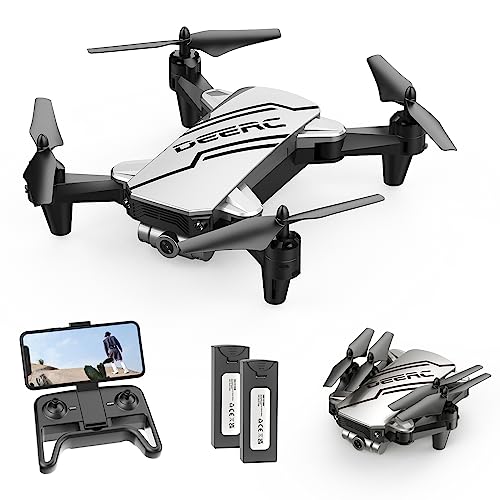
A DIY UAV Kit is a customizable set of components that allows you to build your own Unmanned Aerial Vehicle (UAV) from scratch. These kits typically include essential parts like the frame, motors, propellers, flight controller, and electronic speed controllers.
Building your UAV from a kit can be a rewarding experience that offers several benefits. You get hands-on experience with drone technology, learn about aerodynamics, electronics, and programming. Additionally, building your UAV allows you to customize it to suit your specific needs and preferences.
1. Choose the Right Kit: Select a DIY UAV kit that matches your skill level and intended use, whether it's for aerial photography, racing, or research.
2. Assemble the Frame: Start by putting together the frame of the UAV according to the instructions provided in the kit.
3. Add Motors and Propellers: Attach the motors and propellers to the frame, ensuring they are securely fastened.
4. Install the Flight Controller: Connect the flight controller to the frame and motors, as this component is crucial for stability and control.
5. Electronics and Testing: Install the electronic speed controllers, receiver, and any other components. Test your UAV to ensure all systems are functioning correctly.
When considering a DIY UAV kit, popular options include kits from brands like DJI, 3D Robotics, and OpenPilot. These kits often come with detailed instructions and support to help you through the building process.
Building your own UAV from a DIY kit can be a fun and educational experience, allowing you to delve into the world of drones and create a customized flying machine tailored to your needs.